
 Mobile
Repairing Tools
Mobile
Repairing Tools
 Touch/Glass/OCA
Glass
Touch/Glass/OCA
Glass Stencils &
IC
Stencils &
IC OCA Machine &
Parts
OCA Machine &
Parts Mobile
Accessories
Mobile
Accessories Software
 OCA
Sheets &
Polarizers
OCA
Sheets &
Polarizers
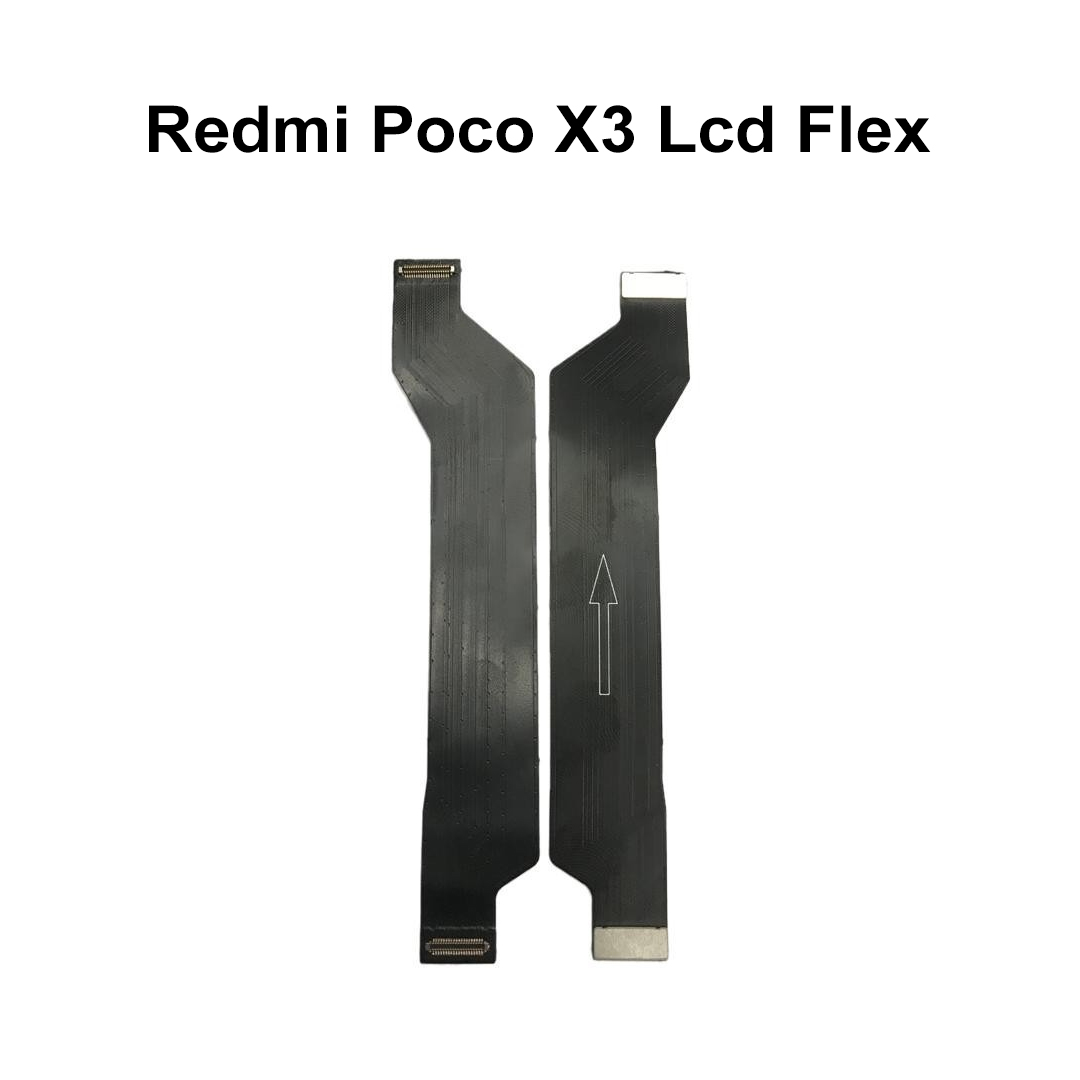
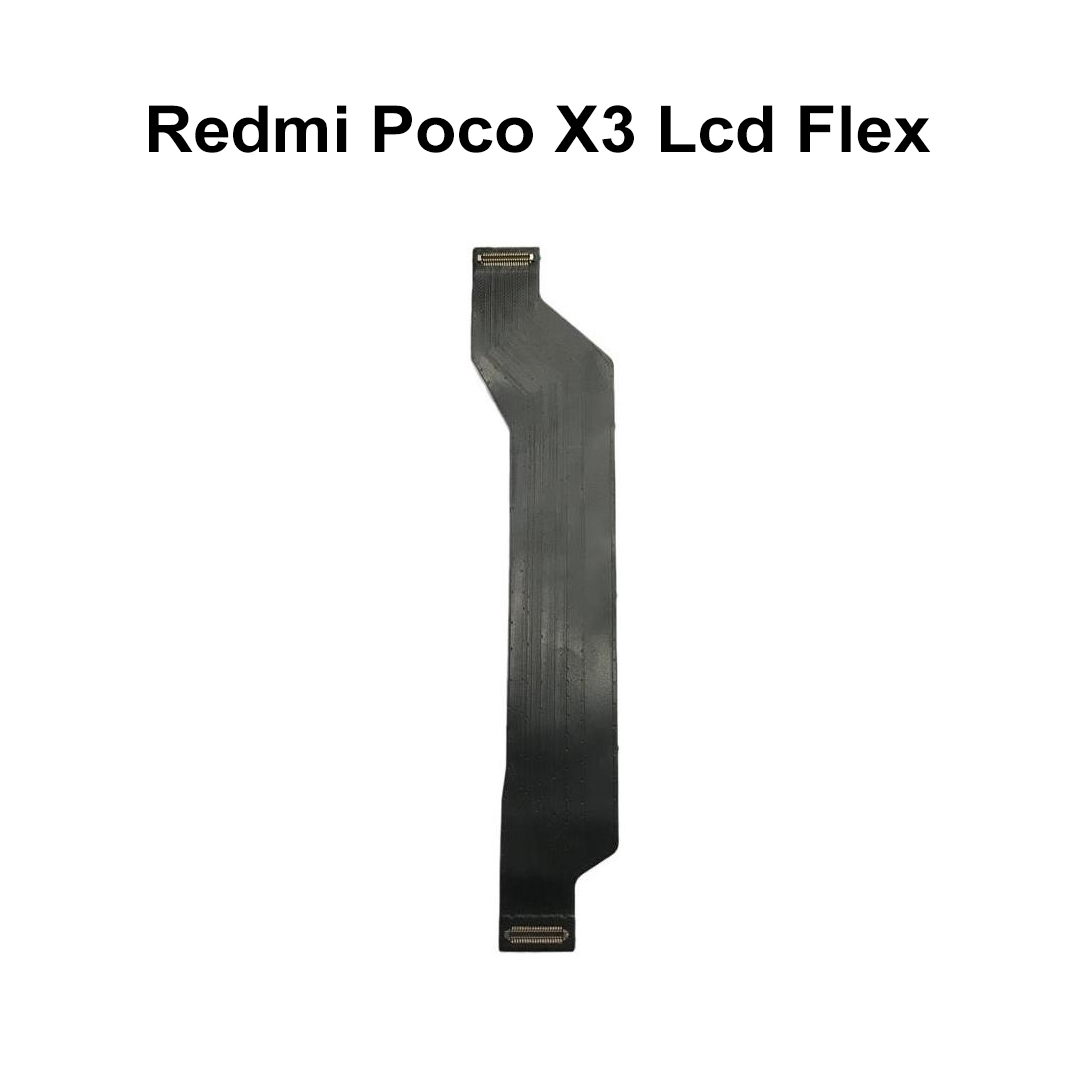
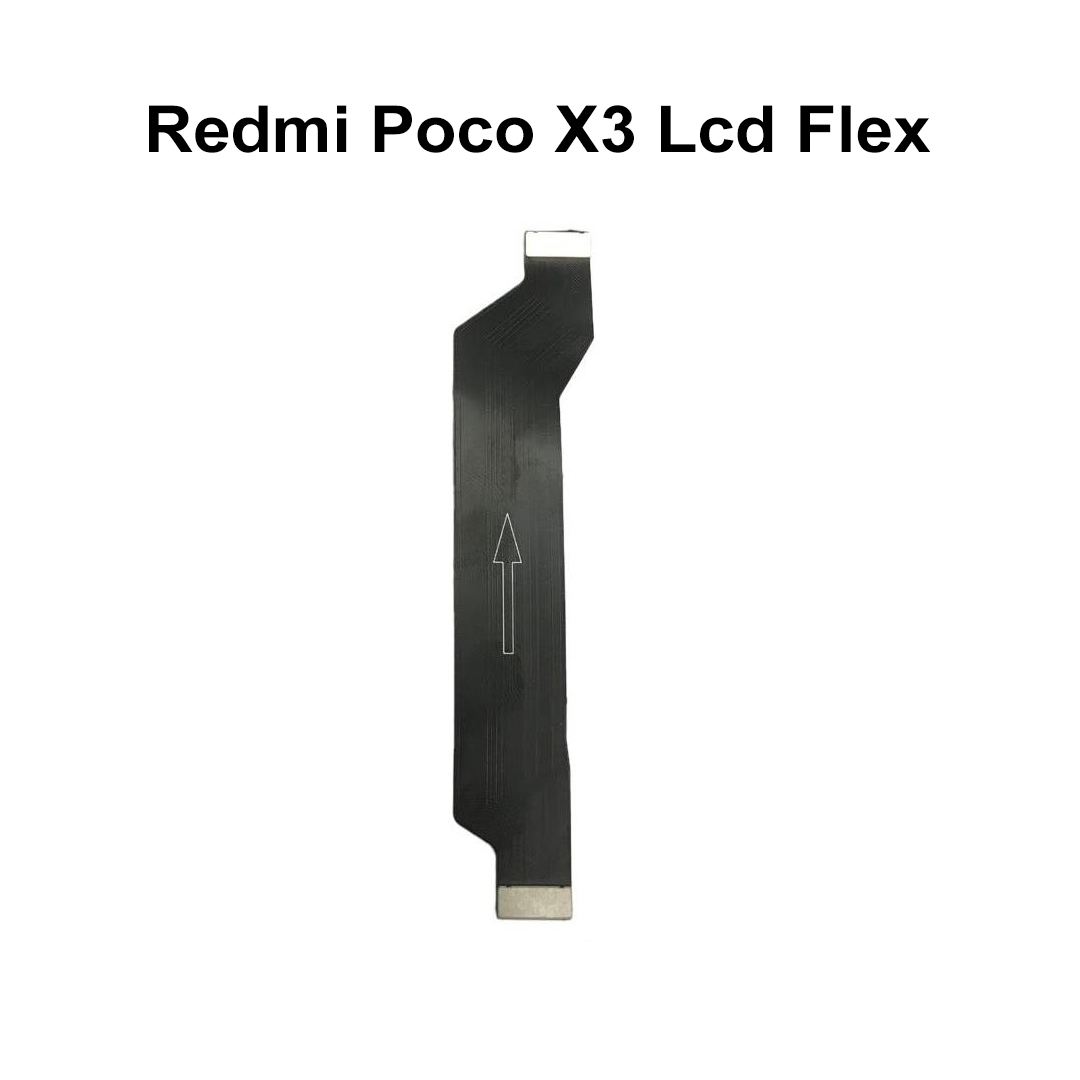
Redmi Poco X3 Lcd Flex
Premium Logic Board to LCD Display & Sub-Board Bridge Interconnect
This OEM-quality, high-precision main ribbon flex cable bridges the gap between your device's motherboard and the lower sub-board / LCD assembly. Engineered to instantly fix critical display blank outs, slow or non-responsive touchscreen tracking, and disrupted charging circuits caused by torn, creased, or liquid-corroded internal connections.
1. Technical & Material Specifications
| Attribute | Technical Specification Details |
| Product Name | Main LCD Motherboard Board Interconnect Flex Cable Ribbon |
| Sub-Category | Motherboard to Display & Charging Logic Bridge Component |
| Material Base | Flexible Printed Circuit (FPC) - High-grade Polymide substrate |
| Trace Metallurgy | Micro-fine Electrolytic Tough Pitch (ETP) Copper Trace arrays |
| Connector Type | Multi-Pin Micro-pitch snap-on Board-to-Board (B2B) connectors |
| Contact Plating | Hard-Gold Plated over Nickel coating (Corrosion and oxidation resistant) |
| Shielding | Electromagnetic Interference (EMI) absorbing graphite layers |
| Product Weight | Ultra-lightweight ~10 grams |
| Dimensions | Custom precision-molded specifically for the internal chassis length of the Poco X3 series |
2. Complete Device Compatibility Matrix
| Parameter | Application Specifications |
| Supported Brands | Xiaomi / Poco |
| Primary Device Models |
• Poco X3 (Indian Edition - Model: MZB07Z2IN) • Poco X3 NFC (Global Edition) • Poco X3 Pro |
| Display Panel Link | Fully compatible with both Original OEM and high-quality Aftermarket LCD/IPS assemblies |
| Hardware Cross-Linking | Connects the central CPU/Motherboard directly to the lower Charging Dock Sub-Board, Speaker, and LCD array. |
3. Failure Symptoms & Diagnostic Criteria
| Visual & Functional Diagnostic Failures | What Replacing This Flex Cable Fixes |
| The "Black Screen" Syndrome: Phone turns on (vibrates, makes sounds) but the display panel remains entirely unlit or completely pitch black. | Restores Panel Power: Re-establishes the broken main voltage rails from the PMIC (Power Management IC) directly to the display backlight. |
| Intermittent Charging Drops: The device alternates wildly between slow charging, fast charging, or failing to acknowledge the USB-C cable altogether. | Re-bridges Main Power Rails: Re-establishes the high-current VBUS power trace that feeds energy from the lower charging dock board back up to the main battery assembly. |
| Touchscreen Unresponsiveness: Random zones on the screen exhibit zero response to touch inputs, or ghost-touch sequences occur. | Cleans Data Signal Transmission: Repairs the MIPI (Mobile Industry Processor Interface) data lines, resolving distorted image rendering. |
| Physical Component Cracking: The cable ribbon shows micro-tears or hard creases near the hinge points after a heavy drop or clumsy battery replacement. | Ensures Flat Physical Tracking: Restores structural continuity over flexible areas without risking early stress fractures or micro-shorts. |
4. Professional Workshop Installation Guidelines
| Step Sequence | Step-by-Step Technical Repair Process |
| 1. Disassembly Preparation | Power down the Poco X3 completely. Heat the back glass panel evenly to soften the adhesive, then use a thin guitar pick or plastic card to separate the rear shield. |
| 2. Internal Shield Removal | Unscrew and remove the upper logic board plastic motherboard guard and the lower loudspeaker chamber assembly. |
| 3. Static Discharge Safety | Crucial: Always disconnect the battery flex connector first before touching or unlatching any other internal display ribbons to avoid short-circuiting the board. |
| 4. Pre-Installation Testing | Lay down the new replacement flex cable ribbon. Gently press down on both the upper and lower connectors until you hear a clean "click". Test functionality completely before gluing or screwing anything back down. |
| 5. Final Attachment Caution | Avoid using aggressive metal tweezers directly on the middle surface of the ribbon trace. Do not create acute folds or 180-degree hard bends in the plastic sheet body. |
5. Wholesale Logistics & Quality Controls
| Category | Distribution & Trade Standards |
| Quality Assessment (QA) | Every ribbon unit undergoes strict micro-continuity checks and physical pin-alignment audits under magnification lenses prior to packaging. |
| Packaging Standards | Sealed in specialized Anti-Static ESD (Electrostatic Discharge) bubble pouches and shipped inside rugged, crush-resistant boxes. |
| Storage Instructions | Keep stored flat in climate-controlled environments. Avoid humidity to prevent premature tarnishing of the delicate B2B connector pins. |
| Warranty Window | Covered by a standard testing warranty policy (replacement cover valid only prior to permanent glue application or protective film removal). |
| Weight |
0.002 |
|---|
Comments


Customer Reviews
No Review Found